
Why Earthquake-Proofing Is Non-Negotiable
Japan sits at the convergence of four tectonic plates — the Pacific, Philippine Sea, Eurasian, and North American plates. The country experiences roughly 1,500 perceptible earthquakes per year and accounts for approximately 20% of the world's seismic events of magnitude 6.0 or greater. The January 2024 Noto Peninsula earthquake (M7.6) killed over 240 people and destroyed thousands of buildings, with the overwhelming majority of structural failures occurring in buildings constructed before modern seismic codes took effect.
If you're buying an akiya — particularly one built before 1981 — understanding seismic risk isn't optional. It's the single most important factor in your purchase decision, ahead of price, location, and condition. A structurally unsound building isn't a bargain at any price.
The Three Eras of Japanese Building Codes
Japanese earthquake engineering is defined by three distinct regulatory eras. Understanding which era your prospective akiya falls into tells you almost everything about its baseline seismic performance.
Era 1: Kyū-Taishin — Pre-June 1981 (Old Seismic Standard)
Buildings with a Construction Confirmation Certificate (建築確認済証 (kenchiku kakunin-zumi-shō), kenchiku kakunin-zumi-shō) issued before June 1, 1981 were built under the old seismic standard, called kyū-taishin (旧耐震 (kyū taishin)). These buildings were designed to withstand earthquakes of approximately shindo 5 (the Japanese seismic intensity scale) without collapse. That sounds reasonable until you consider that Japan regularly experiences shindo 6 and 7 events.
During the 1995 Great Hanshin-Awaji Earthquake (M7.3), which devastated Kobe, over 100,000 buildings were destroyed or severely damaged. Post-disaster surveys found that buildings constructed under the old standard were roughly three to four times more likely to suffer severe damage or collapse compared to those built after 1981. Of the 6,434 deaths, a significant majority were caused by building collapse.
Key date to remember: June 1, 1981. Any building with a construction confirmation certificate dated before this is a kyū-taishin structure and should be treated as a higher seismic risk until proven otherwise through professional assessment.
Era 2: Shin-Taishin — Post-June 1981 (New Seismic Standard)
The 1978 Miyagi-ken Oki Earthquake (M7.4) triggered a fundamental revision of the Building Standards Act (建築基準法, Kenchiku Kijun-hō). The new standard, called shin-taishin (新耐震 (shin taishin)), took effect on June 1, 1981 and represented a philosophical shift: buildings must not just resist damage during moderate earthquakes (shindo 5), but must not collapse even during severe earthquakes of shindo 6-upper to 7.
The shin-taishin standard introduced several key requirements:
- Two-stage design verification — structures must be checked for both moderate (allowable stress design) and severe (ultimate capacity design) earthquake loads
- Higher base shear coefficients — the lateral force factor used in structural calculations was significantly increased
- Ductility requirements — buildings must be able to deform without sudden brittle failure
- Foundation requirements — stricter rules on how buildings interact with the ground
Data from subsequent earthquakes validated this standard dramatically. In the 2011 Tōhoku earthquake (M9.0), the vast majority of structural failures due to shaking occurred in pre-1981 buildings. Shin-taishin structures overwhelmingly survived with minimal structural damage.
Era 3: Post-2000 Revision (Enhanced Wooden House Standard)
After the 1995 Kobe earthquake revealed specific weaknesses in wooden frame construction — even some post-1981 wooden houses failed due to poor connections and unbalanced wall placement — the Building Standards Act was revised again in 2000. This revision specifically targeted wooden residential construction (木造 (mokuzō)住宅, mokuzō jūtaku), which is the construction type of the vast majority of akiya.
The 2000 revision added three critical requirements for wooden houses:
- Ground investigation — mandatory soil testing before construction (previously optional for small residential buildings)
- Hold-down hardware (ホールダウン金物, hōrudaun kanamono) — metal connectors securing columns to the foundation, preventing the structure from being lifted off its base
- Balanced wall placement — shear walls must be distributed evenly throughout the building, not concentrated on one side. A "wall ratio balance" calculation became mandatory
The significance of these changes was starkly illustrated during the 2016 Kumamoto earthquakes (two events of M6.5 and M7.3 within 28 hours). Buildings built between 1981 and 2000 suffered notably more damage than those built after 2000, particularly wooden houses that lacked hold-down hardware — in some cases, upper floors simply slid off their foundations.
What this means for akiya buyers: A building from 1985 is vastly better than one from 1975, but a building from 2005 is better still. The three eras create a rough seismic quality ladder: pre-1981 (highest risk) → 1981–2000 (moderate risk) → post-2000 (lowest risk).
Understanding Japan's Seismic Intensity Scale
Japan uses its own seismic intensity scale called shindo (震度), measured by the Japan Meteorological Agency (JMA). Unlike the Richter or moment magnitude scale (which measures total energy released at the source), shindo measures how strongly the ground shakes at a specific location. This is far more useful for understanding building damage.
The scale runs from 0 to 7, with two subdivisions at levels 5 and 6:
- Shindo 0–3: Felt but no damage to buildings
- Shindo 4: Hanging objects swing significantly; unstable ornaments may fall
- Shindo 5-lower: Poorly built houses may sustain damage; heavy furniture may topple
- Shindo 5-upper: Unreinforced concrete block walls may collapse; some older buildings sustain significant damage
- Shindo 6-lower: Wall tiles and windows may break; poorly earthquake-resistant houses may collapse
- Shindo 6-upper: Many buildings suffer damage; some non-earthquake-resistant buildings collapse
- Shindo 7: Even earthquake-resistant buildings may sustain severe damage; landslides and ground deformation likely
The key insight: kyū-taishin buildings were designed for shindo 5, but Japan regularly experiences shindo 6 and 7. Shin-taishin buildings are designed to survive shindo 7 without collapse, though they may sustain non-structural damage.
Step One: Get a Seismic Assessment
Before spending a single yen on retrofitting — and ideally before completing your purchase — you need a professional seismic assessment. This is the most important money you will spend on the entire property.
The General Seismic Diagnosis (一般耐震診断)
A taishin shindan (耐震診断, seismic diagnosis) evaluates a building's current earthquake resistance using standardized methods. For wooden residential buildings, this typically follows the methodology published by the Japan Building Disaster Prevention Association (日本建築防災協会, JBDPA).
The assessment produces a numerical score called the upper-limit seismic capacity index (上部構造評点, jōbu kōzō hyōten):
- 1.5 or higher: Collapse is unlikely (安全, anzen — safe)
- 1.0 to 1.5: Collapse is generally unlikely (一応安全, ichiō anzen — generally safe)
- 0.7 to 1.0: Possibility of collapse (やや危険, yaya kiken — somewhat dangerous)
- Below 0.7: High possibility of collapse (倒壊する可能性が高い, tōkai suru kanōsei ga takai — high risk of collapse)
Most pre-1981 wooden houses score below 0.7 when assessed. The target for retrofit is typically 1.0 or above.
Cost of Seismic Assessment
Seismic assessments for wooden residential buildings typically cost between ¥50,000 and ¥200,000 (approximately $330–$1,330 USD), depending on building size and complexity. Many municipalities subsidize or fully cover the cost of seismic diagnosis for buildings constructed before 1981.
For a general seismic diagnosis of a standard wooden house (under 200m²), expect:
- Subsidized cost: Often free or ¥5,000–¥30,000 in municipalities with active subsidy programs
- Unsubsidized cost: ¥100,000–¥200,000 from a qualified structural engineer
- Duration: The on-site inspection takes 2–3 hours; the full report typically arrives within 2–4 weeks
The assessment includes visual inspection of the foundation, walls, roof structure, and connections. The engineer will check for signs of deterioration: termite damage, moisture rot, foundation cracks, and settling. For wooden buildings, they'll evaluate the quantity and distribution of shear walls, the condition of the frame joints, and the presence (or absence) of bracing hardware.
How to Find a Qualified Assessor
Look for a registered taishin shindan-shi (耐震診断士, seismic diagnosis specialist) or a first-class architect (一級建築士, ikkyū kenchiku-shi) with experience in seismic assessment. Your municipal office's building department (建築課, kenchiku-ka) can provide referrals — they maintain lists of approved assessors, especially for subsidized programs.
Working with a licensed agent experienced in older properties can simplify this process significantly. Teritoru, our licensed partner agent, routinely coordinates seismic assessments as part of their due diligence process for foreign buyers purchasing older properties.
Seismic Retrofitting Methods
Once you have your assessment score, retrofitting options fall into several categories. For wooden residential buildings — which account for the majority of akiya — the most common and cost-effective approaches are wall reinforcement, foundation strengthening, and connection hardware upgrades.
1. Shear Wall Reinforcement (耐力壁補強)
The most common retrofit method for wooden houses. Existing walls are strengthened or new shear walls are added to resist lateral forces during earthquakes.
Methods include:
- Structural plywood sheathing: Adding 9mm or 12mm structural plywood to the inside or outside of wall frames. Cost: approximately ¥50,000–¥150,000 per wall section
- Diagonal bracing (筋交い, suji-kai): Installing cross-bracing members within wall cavities. This is the traditional method and works well when wall interiors are accessible. Cost: ¥30,000–¥80,000 per brace
- Steel frame reinforcement: Adding external steel frames to the building's perimeter. More expensive but doesn't require opening walls. Cost: ¥200,000–¥500,000 per frame
- Carbon fiber reinforcement: Wrapping columns or applying carbon fiber sheets to walls. A newer, less invasive technique. Cost varies widely
2. Foundation Reinforcement (基礎補強)
Many pre-1981 wooden houses were built on unreinforced rubble stone foundations (玉石基礎, tamaishi kiso) or have simple concrete strip foundations without rebar. These foundations can crack and shift during earthquakes, causing the entire structure above to fail.
Common foundation retrofit approaches:
- Foundation jacketing: Adding reinforced concrete around the existing foundation. Cost: ¥15,000–¥30,000 per linear metre
- Carbon fiber wrapping: Applying carbon fiber sheets to strengthen existing concrete foundations that have minor cracking. Cost: ¥10,000–¥25,000 per linear metre
- Complete foundation replacement: Jacking up the building and pouring a new reinforced concrete foundation. This is the most expensive option but sometimes the only viable one. Cost: ¥2,000,000–¥5,000,000+ depending on building size
3. Connection Hardware (接合部金物)
In older wooden construction, structural members were joined using traditional joinery or simple nailing. During earthquakes, these connections can pull apart, allowing the frame to rack and collapse.
Key hardware additions:
- Hold-down connectors (ホールダウン金物): Anchor the columns to the foundation. Cost: ¥5,000–¥15,000 per connector, typically 6–12 needed per house
- Bracket connectors (かど金物): Reinforce the joints between beams and columns. Cost: ¥3,000–¥8,000 per bracket
- Anchor bolts: Secure the sill plate to the foundation. Cost: ¥2,000–¥5,000 per bolt
4. Roof Weight Reduction (屋根の軽量化)
Traditional Japanese roofs use heavy clay tiles (瓦, kawara) that can weigh 50–60 kg per square metre. During an earthquake, this mass amplifies the lateral forces acting on the structure. Replacing heavy tiles with lightweight metal roofing (5–10 kg per m²) can reduce seismic loads by up to 80% at the roof level.
Cost: ¥10,000–¥15,000 per m² for removal and replacement. For a typical 100m² roof, expect ¥1,000,000–¥1,500,000.
Trade-off: Clay tiles provide excellent weather protection and have a 50–100 year lifespan. Metal roofing is lighter but may require replacement every 30–40 years. In areas with heavy snowfall (Niigata, Tōhoku, Hokkaido), the structural calculations change — snow load already dominates over seismic load for roof design.
5. Base Isolation and Dampers (免震・制震装置)
These advanced techniques are more common in commercial buildings but are increasingly available for residential use:
- Base isolation (免震, menshin): The building sits on rubber bearings or sliding mechanisms that absorb earthquake energy before it reaches the structure. Extremely effective but expensive: ¥3,000,000–¥5,000,000+ for a residential installation
- Viscous dampers (制震ダンパー, seishin danpā): Devices installed within the wall frame that absorb earthquake energy through fluid resistance or metal deformation. Cost: ¥300,000–¥600,000 per unit, typically 4–8 needed per house
For most akiya buyers, wall reinforcement + connection hardware + foundation work provides the best cost-to-benefit ratio. Base isolation and dampers are worth considering for higher-value properties or in particularly high-risk zones.
Total Retrofit Costs: What to Budget
For a standard wooden house (80–120m²), typical seismic retrofit costs in Japan fall into these ranges:
National average: ¥1,500,000–¥2,000,000 · Government subsidies can cover 50–80%
- Light retrofit (score improvement from 0.5 to 0.7–1.0): ¥1,000,000–¥2,000,000 ($6,600–$13,300). Typically involves adding shear walls, connection hardware, and minor foundation repairs
- Moderate retrofit (score improvement from 0.3–0.5 to 1.0+): ¥2,000,000–¥3,500,000 ($13,300–$23,300). Includes wall reinforcement, foundation strengthening, connection hardware, and possibly roof lightening
- Heavy retrofit (major structural overhaul): ¥3,500,000–¥6,000,000+ ($23,300–$40,000+). Foundation replacement, extensive wall work, roof replacement, and damper installation
Industry data from the Japan Building Disaster Prevention Association suggests the national average for wooden house seismic retrofitting is approximately ¥1,500,000–¥2,000,000, though costs vary significantly by region, building size, and condition.
A critical rule of thumb: if the retrofit cost exceeds 50% of the building's post-retrofit value, demolition and new construction may be more economical. For very cheap akiya (under ¥1,000,000), the cost of seismic retrofit alone may exceed the purchase price — but that doesn't necessarily make it a bad investment. A ¥500,000 akiya with ¥2,000,000 in seismic retrofit and ¥3,000,000 in renovation is still only ¥5,500,000 ($36,600) for a structurally sound home.
Government Subsidies for Seismic Retrofitting
Japan's national and municipal governments offer significant financial support for seismic retrofitting, particularly for buildings constructed before 1981. These subsidies can cover 50–80% of retrofit costs in many municipalities.
National Framework
The Act on Promotion of Seismic Retrofitting of Buildings (建築物の耐震改修 (taishin kaishū)の促進に関する法律, commonly called the Taishin Kaishu Sokushin-hō) established in 1995 and revised in 2013 provides the national framework. Under this law, all prefectures and designated municipalities must create seismic retrofit promotion plans and offer assistance.
The national government subsidizes up to one-third of retrofit costs, with prefectural and municipal governments typically matching or exceeding this contribution. The result is that homeowners often pay only 20–50% of total retrofit costs out of pocket.
Typical Municipal Subsidy Structure
While subsidies vary by municipality, a common structure looks like this:
- Seismic diagnosis: Free or heavily subsidized (often 100% covered for pre-1981 buildings)
- Retrofit design: Subsidized up to ¥100,000–¥200,000
- Retrofit construction: Subsidized up to ¥1,000,000–¥2,000,000, or up to 80% of eligible costs (whichever is lower)
Some municipalities with aggressive akiya revitalization programs offer even more generous subsidies. Rural municipalities eager to attract new residents may combine seismic retrofit subsidies with akiya bank purchase subsidies and renovation grants, potentially covering ¥3,000,000–¥5,000,000 in total support.
How to Apply
The application process typically follows this sequence:
- Contact your municipal building department (建築課 or 都市計画課) to confirm available programs and eligibility
- Apply for seismic diagnosis subsidy — submit the application before commissioning the assessment
- Complete the diagnosis — if the score is below 1.0, you're eligible for retrofit subsidies
- Apply for retrofit subsidy — submit plans prepared by a registered architect before starting work
- Complete the retrofit — using contractors approved by the municipality
- Submit completion report — including photos, receipts, and a post-retrofit assessment
Critical timing note: You must apply for subsidies before starting work. Retroactive applications are not accepted. This is the most common mistake foreign buyers make — they hire a contractor, begin work, and then discover they've voided their eligibility.
Tax benefit: Seismic retrofit costs for your primary residence can qualify for the Special Deduction for Housing Renovation (住宅特定改修特別税額控除), providing an income tax deduction of up to 10% of eligible expenses (capped at ¥2,500,000 in eligible costs, for a maximum deduction of ¥250,000). The property must be your primary residence, and the retrofit must bring the building up to current seismic standards.
Earthquake Insurance: What It Covers and What It Doesn't
Standard fire insurance (火災保険, kasai hoken) in Japan does not cover earthquake damage. You need a separate earthquake insurance policy (地震保険, jishin hoken), which can only be purchased as an add-on to fire insurance — it cannot be bought standalone.
How Earthquake Insurance Works
Japan's earthquake insurance system is unique globally. It's a public-private partnership between private insurers and the Japanese government (through the Japan Earthquake Reinsurance Co., Ltd.). The government backs the system because no private insurer could cover the potential losses from a catastrophic earthquake.
Key characteristics:
- Coverage limit: 30–50% of your fire insurance coverage amount, up to a maximum of ¥50,000,000 for buildings and ¥10,000,000 for contents
- What's covered: Damage from earthquake shaking, tsunami, and earthquake-caused fire
- What's NOT covered: Damage occurring more than 10 days after an earthquake, damage to vehicles, damage to luxury items worth over ¥300,000 each
- Payout structure: Claims are assessed on a 4-tier scale — total loss (100% payout), major partial damage (60%), partial damage (30%), and minor damage (5%)
Cost of Earthquake Insurance
Premiums are set by the government and are uniform across insurers for the same risk profile. Two factors determine your premium:
- Location: Japan is divided into three risk tiers. High-risk areas (Tokyo, Shizuoka, Kanagawa) pay roughly 3–4 times more than low-risk areas (Hokkaido, Okinawa)
- Construction type: Wooden structures pay approximately twice the premium of fire-resistant concrete or steel structures
For a wooden house insured for ¥10,000,000 in building value:
- Low-risk area: Approximately ¥7,000–¥11,000 per year
- Medium-risk area: Approximately ¥15,000–¥20,000 per year
- High-risk area (Tokyo, Shizuoka): Approximately ¥25,000–¥38,000 per year
Discount for Seismic Retrofitting
Buildings that meet current seismic standards receive a 10–50% discount on earthquake insurance premiums:
- Taishin-tōkyū 1 (Grade 1): 10% discount — meets minimum current standard
- Taishin-tōkyū 2 (Grade 2): 30% discount — 1.25× the standard requirement
- Taishin-tōkyū 3 (Grade 3): 50% discount — 1.5× the standard requirement
- Seismic diagnosis/retrofit certificate: 10% discount for buildings with a completed retrofit to current standards
This means your seismic retrofit investment pays a small ongoing dividend through reduced insurance premiums.
Should You Get Earthquake Insurance?
For an akiya purchased at a low price, the calculation isn't straightforward. If you bought a house for ¥1,000,000 and it's insured for ¥5,000,000 (rebuilding cost), you're paying annual premiums to protect against a loss that, in the worst case, might be manageable without insurance. However, if you've invested ¥5,000,000+ in renovation and retrofitting, insurance becomes much more important.
A practical framework: if the total of purchase price plus renovation investment exceeds ¥5,000,000, earthquake insurance is strongly recommended. Below that threshold, the decision depends on your risk tolerance and the seismic risk of your specific location.
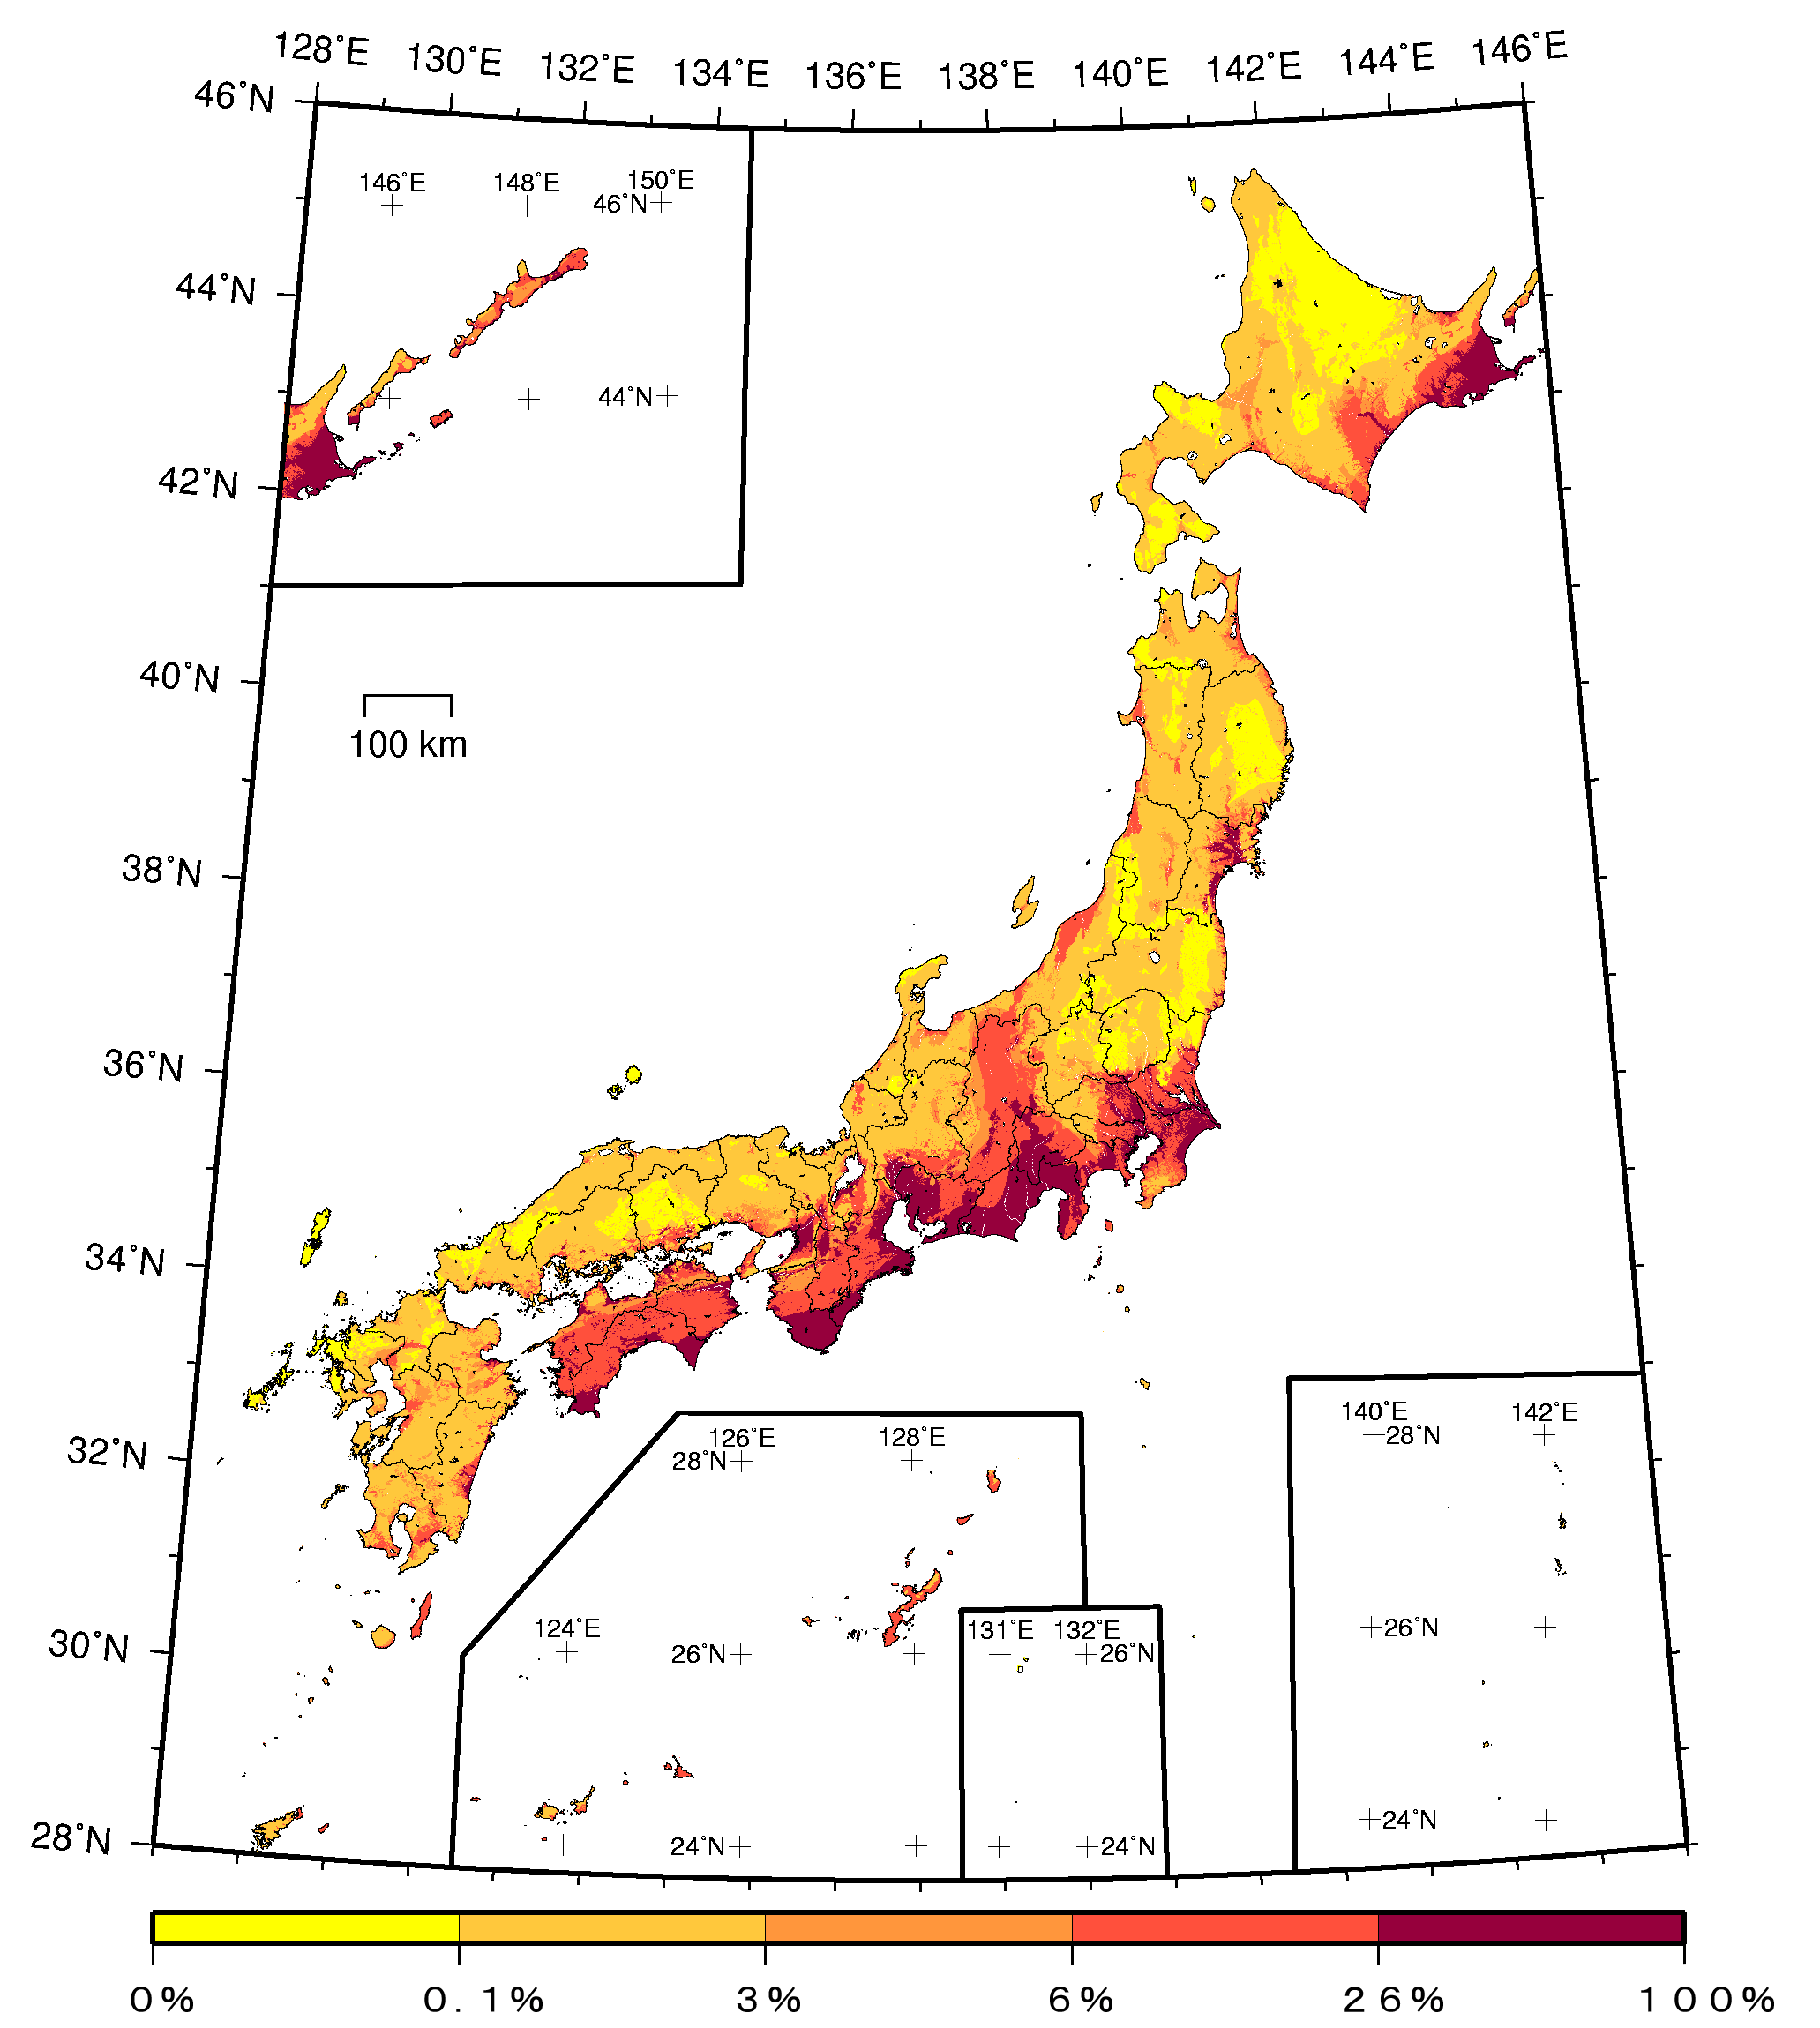
Assessing Seismic Risk by Region
Japan's Headquarters for Earthquake Research Promotion publishes probabilistic seismic hazard maps showing the likelihood of strong shaking over the next 30 years. While no part of Japan is earthquake-free, risk varies significantly:
Highest Risk Areas
- Pacific coast from Shizuoka to Kochi: The Nankai Trough megathrust earthquake zone. The government estimates a 70–80% probability of a M8–M9 earthquake within the next 30 years. This affects Shizuoka, Aichi, Mie, Wakayama, Tokushima, and Kochi prefectures particularly
- Tokyo and southern Kantō: The Sagami Trough presents a significant risk, though the probability of the next major event is lower than the Nankai Trough. However, the Tokyo metropolitan area faces risk from multiple fault systems
- Hokkaido Pacific coast: The Chishima (Kuril) Trench presents a risk similar to the 2011 Tōhoku zone, with a potential for M8.8+ earthquakes
Moderate Risk Areas
- Sea of Japan coast: Less frequent major earthquakes than the Pacific side, but the 2024 Noto earthquake demonstrated that destructive events do occur
- Tōhoku interior: Inland faults can produce damaging earthquakes, though less frequently than coastal subduction zones
Lower Risk Areas (But Not Zero Risk)
- Northern Hokkaido interior: Historically fewer damaging earthquakes, but still seismically active
- Okinawa: Relatively lower seismic risk, though tsunami risk from distant earthquakes exists
- Parts of Chūgoku region: Historically lower seismicity, but the 2000 Tottori earthquake (M7.3) occurred in a previously considered low-risk zone
The critical takeaway: no part of Japan can be considered safe from earthquakes. Lower risk means less frequent major events, not zero risk. Seismic assessment and appropriate retrofitting should be part of any property purchase, regardless of location.
Red Flags During Property Inspection
Before commissioning a formal seismic assessment, a visual inspection can reveal obvious warning signs. These don't replace professional diagnosis, but they help you decide whether to proceed with a purchase or walk away early.
Foundation Warning Signs
- Cracks wider than 0.3mm in the foundation — hairline cracks are normal, but wider cracks indicate structural movement
- No visible rebar in exposed concrete sections — unreinforced foundations are a major red flag
- Stone foundations (玉石基礎) — common in pre-war buildings, these provide almost no lateral resistance
- Uneven foundation height — indicates settling, which weakens the structure's ability to resist lateral forces
- Moisture staining or efflorescence — white mineral deposits on concrete indicate water infiltration, which causes rebar corrosion
Structural Warning Signs
- Doors and windows that don't close properly — suggests the frame has racked (shifted from square)
- Visible diagonal cracks in plaster walls — indicates the building has already experienced seismic displacement
- Sagging roofline — may indicate deteriorated ridge beam or excessive roof weight
- Termite damage — severely weakened structural members cannot resist earthquake forces. Check wooden members near ground level, under bathrooms, and in areas with poor ventilation
- Previous amateur renovations — walls removed to create open plans without structural compensation. This is common in akiya and can significantly reduce earthquake resistance
Site Warning Signs
- Steep slopes or retaining walls — earthquake-triggered landslides are a major risk. Check the prefectural hazard maps for landslide warning zones (土砂災害警戒区域, dosha saigai keikai kuiki)
- Proximity to rivers or coastline — liquefaction and tsunami risk
- Fill land (盛土, morido) — properties built on filled or reclaimed land have significantly higher liquefaction risk. Recent legislation (2022 Residential Land Development Act revision) now requires cities to map and regulate these areas
The Retrofit Process: A Practical Timeline
For a typical akiya seismic retrofit combined with general renovation, expect this timeline:
- Weeks 1–4: Seismic diagnosis — assessment, report generation, and review of findings
- Weeks 4–8: Subsidy application — paperwork, municipal review, approval. This can take longer in busy periods
- Weeks 8–12: Retrofit design — architect prepares detailed plans specifying wall locations, hardware, foundation work
- Weeks 12–14: Contractor bidding — obtain quotes from 2–3 contractors, negotiate scope
- Weeks 14–22: Construction — typical seismic retrofit takes 4–8 weeks for a standard wooden house. If combined with general renovation, this may extend to 12–16 weeks
- Weeks 22–24: Completion inspection and subsidy claim — municipal inspection, documentation, reimbursement processing
Total timeline: approximately 6 months from initial assessment to completed retrofit. If you're combining seismic work with renovation, plan for 6–9 months. Subsidy reimbursement typically takes an additional 1–3 months after the completion report is filed.
Choosing a Contractor
Seismic retrofitting is specialized work. Not every general contractor (工務店, kōmuten) has experience with structural reinforcement. Here's how to find the right one:
- Ask your municipal building department for a list of approved retrofit contractors
- Check for membership in the Japan Earthquake Resistant Builders Association (日本耐震建築事業者連盟)
- Require a first-class or second-class architect (一級/二級建築士) to supervise the work — this is legally required for structural modifications
- Get at least three quotes — prices can vary by 30–50% for the same scope of work
- Ask for references — specifically for seismic retrofit projects, not just general renovation
For foreign buyers navigating this process in Japanese, working with an experienced agent who can coordinate with contractors, architects, and municipal offices is invaluable. Book a consultation with Teritoru if you need support managing the retrofit process — they have established relationships with structural engineers and contractors experienced in older property renovation.
Special Considerations for Akiya Buyers
Vacant Houses Deteriorate Faster
An akiya that has been vacant for five or more years faces accelerated deterioration that directly impacts seismic performance. Without regular ventilation, moisture builds up inside walls, causing wood rot and weakening structural members. Termites thrive in neglected buildings. Roof leaks go unrepaired, allowing water to penetrate the structure. Ground settling continues unchecked.
A vacant house that was structurally adequate in 2015 may score significantly worse in a 2026 seismic assessment. Always factor in the duration of vacancy when evaluating risk.
Traditional vs. Modern Construction
Some akiya, particularly in rural areas, use traditional post-and-beam construction (伝統工法 (dentō kōhō), dentō kōhō) with large wooden columns and beams connected by elaborate joinery. These traditional structures behave differently in earthquakes than modern frame construction — they're designed to flex and absorb energy rather than rigidly resist it.
Traditional construction isn't inherently worse, but it requires different assessment methods and different retrofit approaches. A standard taishin shindan may not adequately evaluate traditional structures. Look for an architect specializing in traditional Japanese construction (伝統建築, dentō kenchiku) for assessment and retrofit design.
Partial Retrofit as a Strategy
If full retrofit to score 1.0 is prohibitively expensive, a partial retrofit that brings the building to 0.7 still provides meaningful life-safety improvement. Some municipal subsidy programs support this approach, recognizing that some improvement is better than none.
Another option: retrofit only the living spaces. If you plan to use only the ground floor of a two-story building, strengthening the ground floor and reducing upper-floor weight (by removing heavy tiles and stored items) provides targeted protection at lower cost.
Earthquake-Proofing Your Renovation
If you're renovating an akiya anyway, integrating seismic work into the renovation reduces total cost significantly. Opening walls for insulation? Add structural plywood while they're open. Replacing the roof? Switch to lightweight materials. Redoing the kitchen or bathroom? That's a perfect time to add hold-down hardware and foundation anchors.
The marginal cost of adding seismic elements during renovation is often 30–50% less than doing the same work as a standalone project, because much of the labor (opening walls, removing finishes, scaffolding) overlaps.
After the Retrofit: Ongoing Preparedness
Structural retrofitting is the most important step, but it's not the only one. Complete earthquake preparedness for your akiya includes:
- Furniture anchoring: Bolt bookshelves, wardrobes, and heavy appliances to walls using L-brackets or anti-tip straps. Japan's home centres (ホームセンター) sell comprehensive furniture securing kits for ¥1,000–¥5,000
- Emergency supplies: Minimum 3 days of water (3L per person per day), non-perishable food, first aid kit, flashlight, radio, and spare batteries. Keep a disaster bag (防災バッグ, bōsai baggu) near the entrance
- Know your evacuation route: Every municipality publishes hazard maps (ハザードマップ (hazādo mappu), hazādo mappu) showing evacuation routes and shelters. Pick up a copy from city hall or download from the municipal website
- Gas shutoff: Learn where your gas meter is and how to shut it off. Modern meters have automatic earthquake shutoff, but older ones may not
- Water heater anchoring: If you have an outdoor kerosene or gas water heater (common in rural akiya), ensure it's bolted to the wall
The Bottom Line
Earthquake-proofing an akiya is not a luxury — it's a fundamental requirement. The cost of a seismic assessment (often free with subsidies) and retrofit (¥1,500,000–¥3,000,000 on average, with 50–80% potentially covered by subsidies) is a small price compared to the alternative.
The approach is straightforward:
- Check the construction date — pre-1981 requires assessment; 1981–2000 warrants assessment; post-2000 is likely adequate but still worth verifying for vacant buildings
- Get a seismic diagnosis — apply for municipal subsidies first
- Plan your retrofit — integrate with renovation work where possible
- Apply for construction subsidies — before starting any work
- Hire qualified professionals — architect-supervised, experienced in structural work
- Get earthquake insurance — especially if total investment exceeds ¥5,000,000
Every earthquake in Japan reinforces the same lesson: building codes save lives, and the difference between a pre-1981 and post-1981 structure can be the difference between a building that stands and one that doesn't. When you buy an akiya, you're buying into Japan's seismic reality. The question isn't whether an earthquake will come — it's whether your building will be ready when it does.

